One of the most important jobs any computer has is keeping your data safe. But we as users, should be actively backing up our data regardless. And while it’s true, we don’t have as many options on iPadOS as you have with the laptop OS, there are still way we can back up some of or all of the data on our devices.
iCloud

The first and easiest option is to just use iCloud. iCloud Backup is built into every iPadOS device and backs up your most important data when your device is:
- Connected To Power
- Locked
- Connected to a trusted wifi network (One your iPad has connected to a few times before)
The data iCloud backs up includes:
- Device settings
- Homescreen layout
- Camera roll
- Messages
- App Data
So it ends up being a pretty comprehensive backup solution.
Local Backup to Mac or PC
So let’s start with the easy path, and that’s a directly backing up to your Mac.
When you plug your iPad into your Mac you’ll be prompted to on your iPad to trust this machine. This is an approval that’s needed before that Mac can access any of the data on your iPad.
I want to call out a couple of options you may want to be aware of:
- Encrypt this backup – By default your backup is unencrypted, but if you choose to provide a password, Finder will encrypt this backup. Allowing this will then add sensitive data to your backup, like your Health data and Wifi passwords.
- Show this [device] when on Wifi – Checking this will make it so whenever your iPad is on the same wifi network as your Mac, you’ll see it get mounted automatically in the Sidebar.
- Sync this device over wifi – In theory, under the same conditions as an iCloud backup, you should be able to automate local backups as well. Again, I’ve never gotten this to actually work, but that could be because of something specific to my setup.
Once you approve the connection, go ahead and open a new Finder window, and you should see your iPad listed by its name in the Finder sidebar. When you click on that, you see basically the syncing interface we used to see in iTunes back in the day.
Scroll down and you should see an option to “Backup Now”. Click that button, and you should be prompted to confirm the backup by entering your passcode on the iPad. And voila, you’re done. The backup will take awhile but should proceed unattended.
Backup to SSD
Backing up to an external SSD builds off of everything we did before for local backups. Before we start, I’ll note this is going to require running some commands in the Terminal. I will do my best to explain each part of the command, because you should never just run a Terminal command or script without understanding what its doing. They can do some serious damage to your Mac.
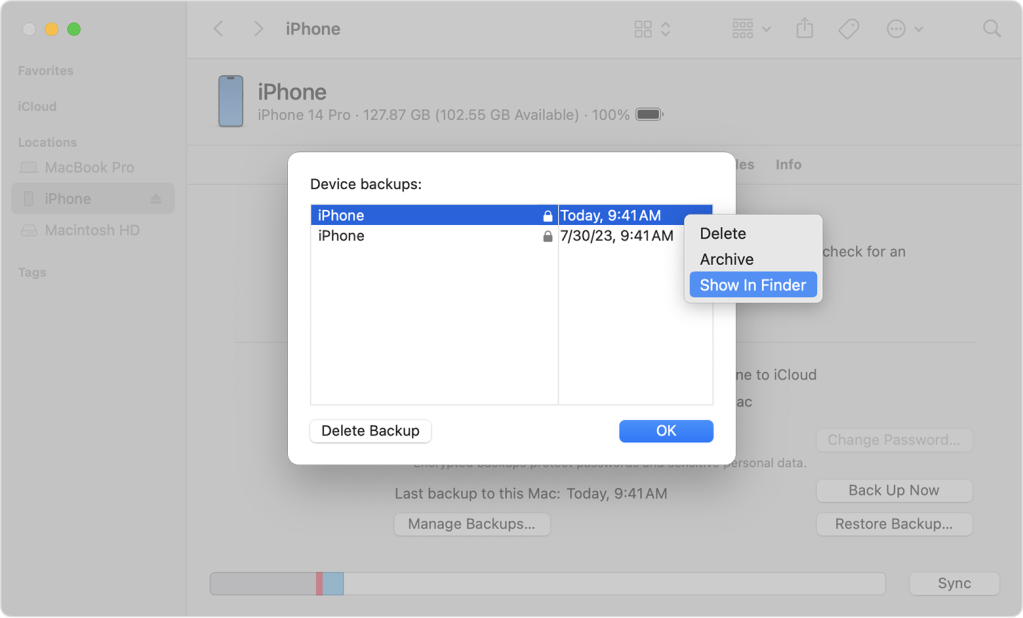
After you’ve done your initial backup in the previous steps, what you want to do is find where the backup located on your Mac. You can find that by going back to Finder and clicking on Manage Backups. You should see the backup you just did. You can right-click, or control-click on that backup and click on “Reveal in Finder in the context menu”
A new Finder window should open, and you can now see the folder for the backup you just made. The folder name should be what looks like a random identifier with a bunch of numbers and letters. I’d copy down that folder name somewhere, because we’re going to need it later.
Okay, so next we’re going to open another Finder window or tab, I recommend a window so it’s easier to drag and drop. Create a folder on your external drive and copy your backup folder there.
Once that copy is completed, we’re going to go back to original backup on local hard drive, and lets go ahead and rename our backup to something else. I’m going to just append the text underscore _original to it.
Now we’re going to open terminal, which I would open using spotlight (CMD-space). Here’s a tip…. we need to navigate in the terminal to the location of our backup. What we can do is just drag the folder into the terminal, and the location of the folder is auto populated. So I’m going to type in cd, which means change directory, then a space, and drag the folder in. The path gets poplated, then I’ll remove the folder name at the end, since we’re not trying to go into the folder. Hit enter, and now we are at the location of our backup.
So now the hardest part…which is create a symbolic link. Now what is a symbolic link? A symbolic link is a special kind of file that points to a file or directory some where else, in this case, our external drive. Basically, we’re going to trick macOS in to thinking its writing the backup data for our iPad to the same location, but in reality, is writing to our external drive.
So this it the command you would use would look like this:
ln -s /Volumes/My\ Passport/Backups/BACKUP_NAME ~/Library/Application\ Support/MobileSync/Backup/BACKUP_NAME
Let’s break this down piece by piece:
ln: This part is the actual command. LN stands for Link, and its used for creating links between files.
-s: The -s part is a flag, which is a way to give different parameters to a command. In this case, the -s means that we want this link to be symbolic instead of a hard link. The link being “symbolic” means that we’re able to create a link between files or folders that may be on different volume or filesystem, versus being restricted to the same volume.
Destination Path: – This is location where our backups will reside on the external drive. This path is the path of the backup we moved to the external drive.
Source Path: This is the location and name of the link we want to create. This is the original path of our backup.
Make sure to replace paths and backup names with the name of your backup and the appropriate paths for your situation. Go ahead and press enter, and the link is created. In the Finder, you shoudl see a folder with the name of your backup, but with a little arrow in the corner to indicate is a link.
That’s should be all you need to do. So let’s go ahead and verify this by going back to our device in the Finder, and starting another backup. This, again, may take some time depending on the amount of data being backed up. Once its completed, you should be able to go to your external drive, look at the time stamp, and verify that it is essentially for right now.
Once you’ve verified that, you should be safe to delete the original backup off of your Mac.
Backup to External Storage via…Shortcuts

A third potential backup option is to leverage the ability of Shortcuts to interact with the Files app. This could enable you to backup data on an app by app basis, or, if you’re feeling more ambitious, all of the locally stored data on your iPad.
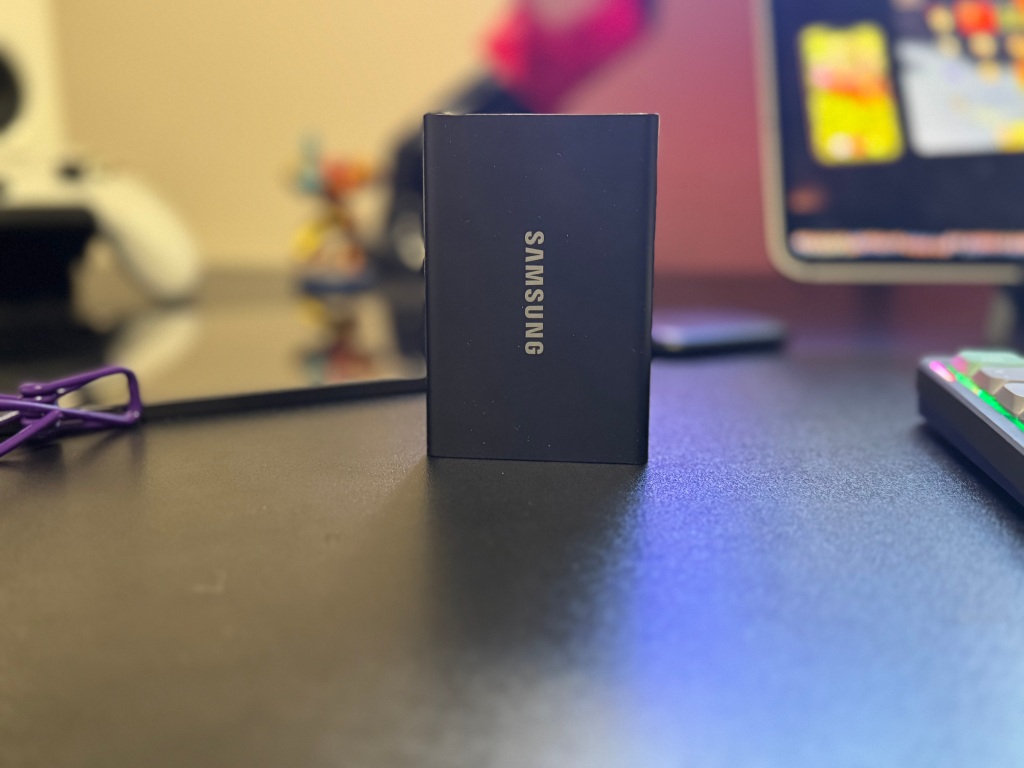
To do this you’ll need some kind of external storage device.
My need here was for specific folders…. I wanted to back up my recordings from Garageband, just in case. I put together this quick shortcut that does the following:
- Creates a new timestampped folder on my external drive
- Grabs the contents of my garageband folder,
- Copies the contents of this folder to my external drive
This is a pretty basic shortcut, but like I mentioned up front, and I’ll make it available, but you’ll need to change the folder and drive names.
I can imagine extending this to a collection of folders you want to backup, or maybe everything in your local storage
Conclusion
These are a couple of options for backing up your data on your iPadOS device. iCloud backup is the easiest way to go, but any steps you take to backup your data are good!
![iPadOS 18 FINALLY Adds the Ability To Format External Storage [VIDEO]](https://slatepad.org/wp-content/uploads/2024/06/untitled.png?w=1024)


Leave a comment